
Create a Process
To create, edit or delete Processes, you need to navigate to a Project, navigate to Process Groups, expand one Process Group panel on that page, then click View Processes. Click Add processes to this group
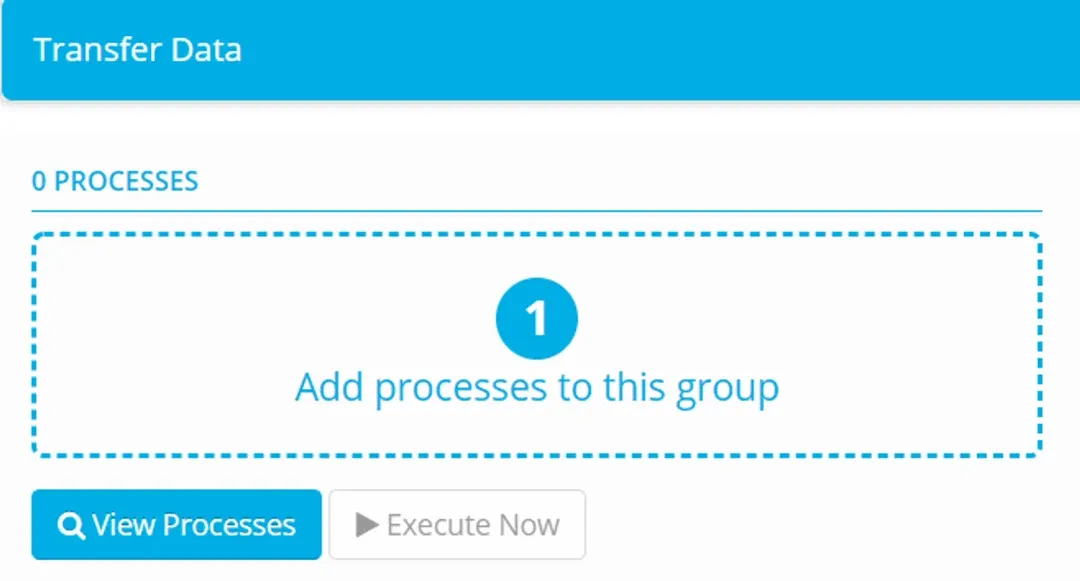
Click Add Source to select the source data objects you would like to use in the transfer.
Double click on a Datastore name to expand the list
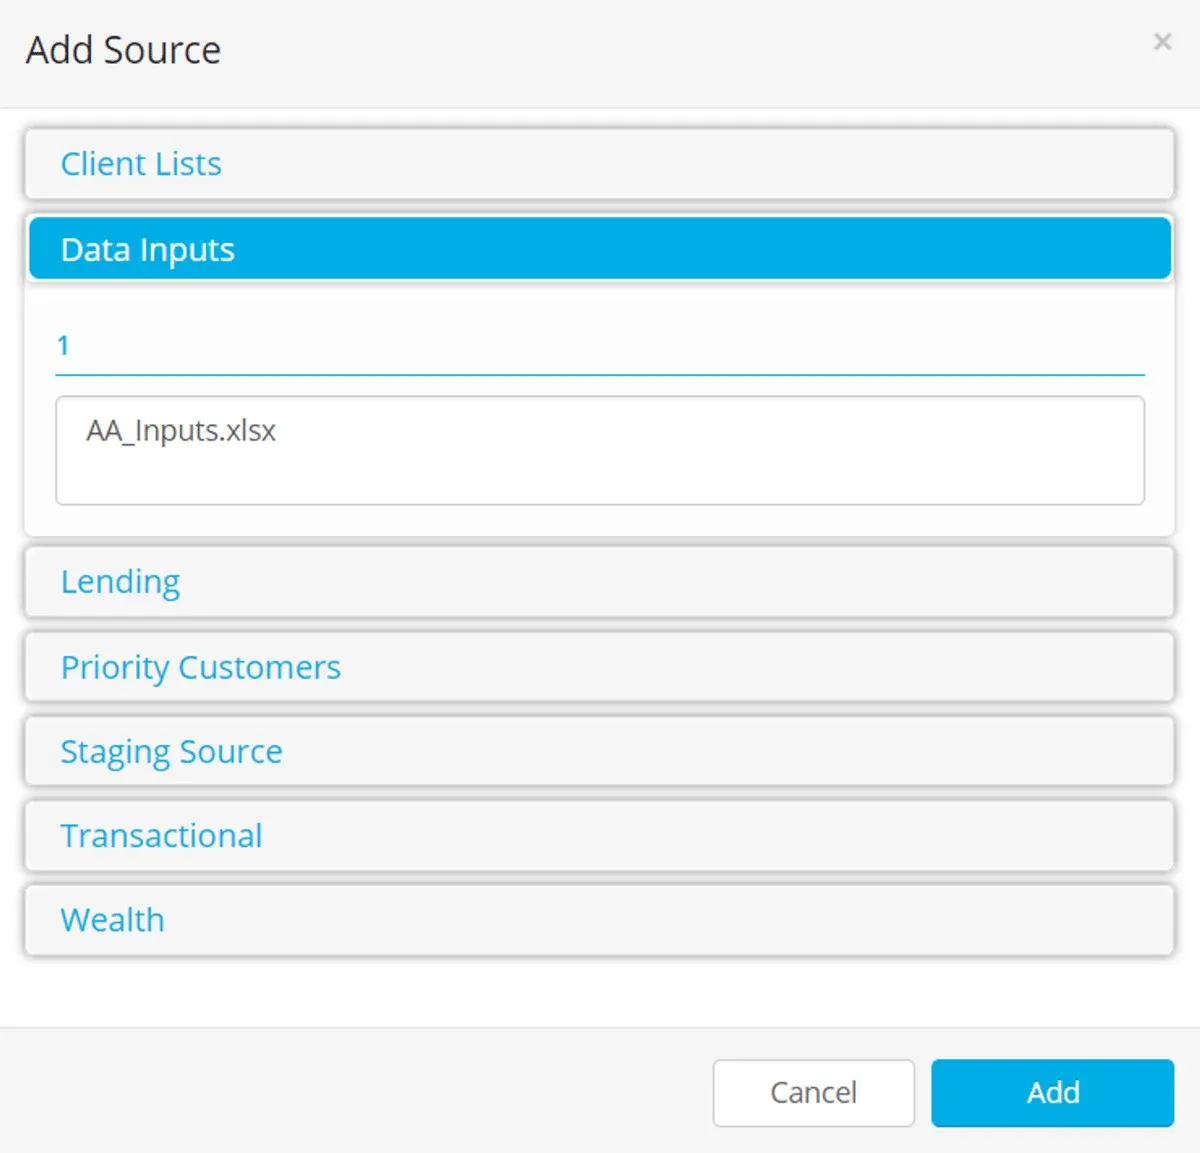
You are shown all the source data stores in the current Project. Select one or more objects and click Add (to select multiple objects, hold the Ctrl or Shift key while you click).
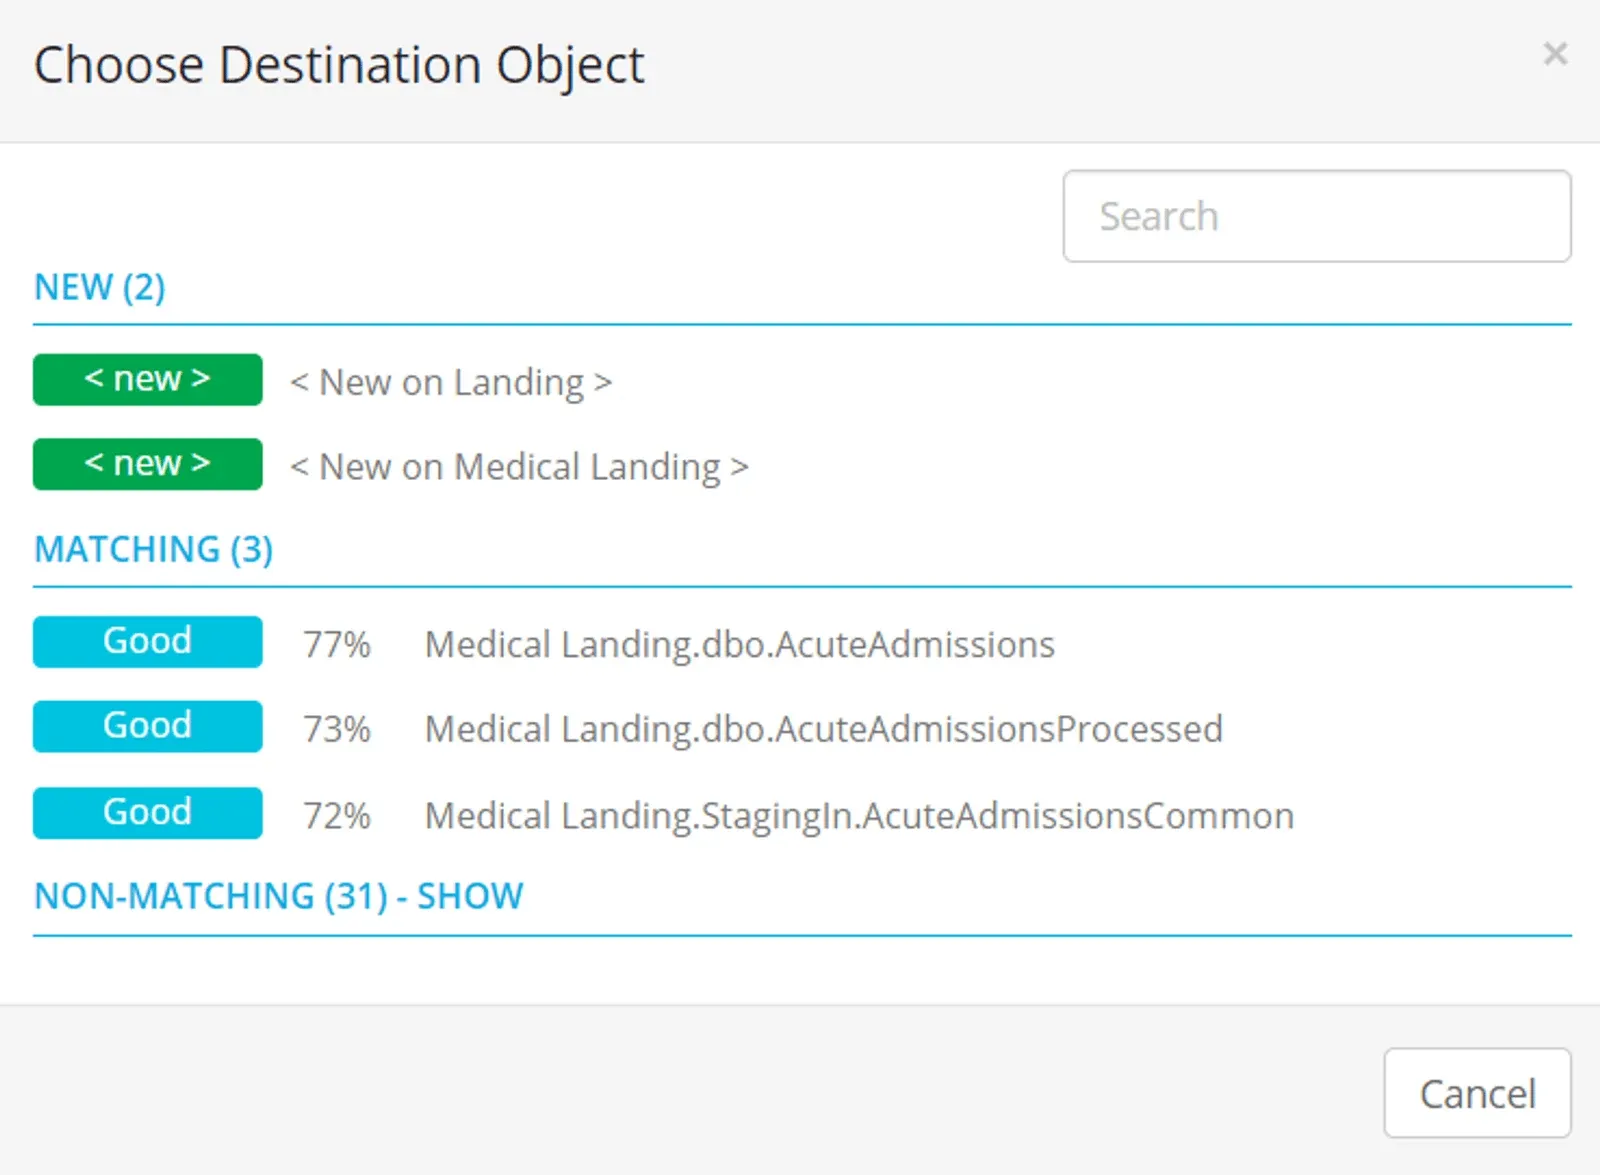
Eightwire will compare the structure of the source objects you have selected against all the objects that exist in the project destination Datastores.
Using that comparison it will suggest the best match for each table, and display a percentage. If Eightwire can’t find a good match it will instead suggest creating a new object on the destination.
EITHER
Choose an existing destination object
Using the suggested options of matching objects, select the one you want to use.
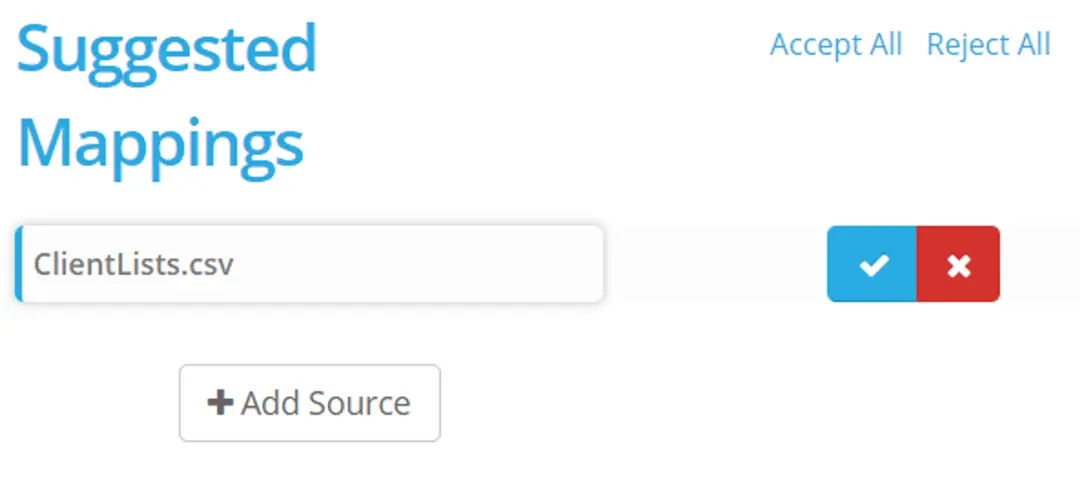
Click the blue tick or Accept All to create the process.
OR
Create a new destination object.
Click New for the appropriate destination datastore.
Click the pencil icon to rename the destination object.
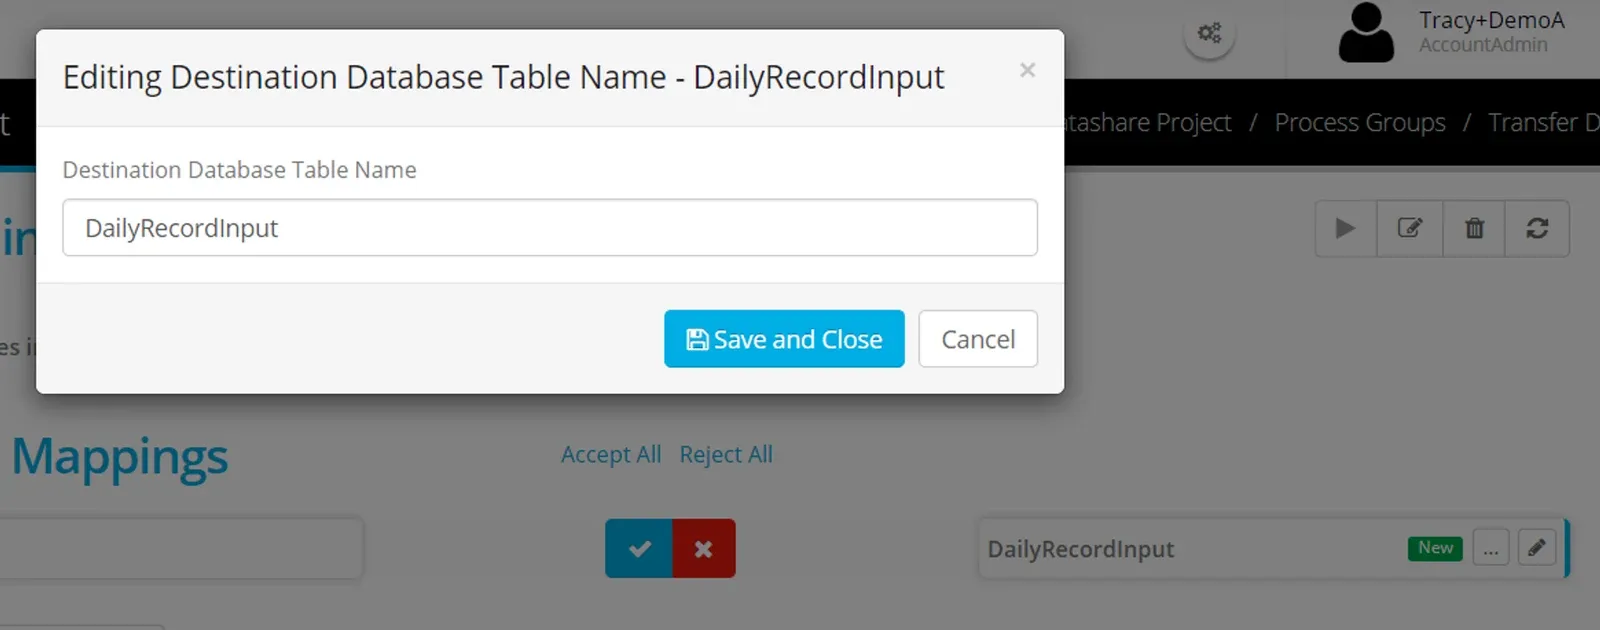
The destination object will be created using the object naming convention for the Datastore. For example, a new file Delimited Text in datastore will be named with .csv once created and a database object would start with the schema name or dbo.
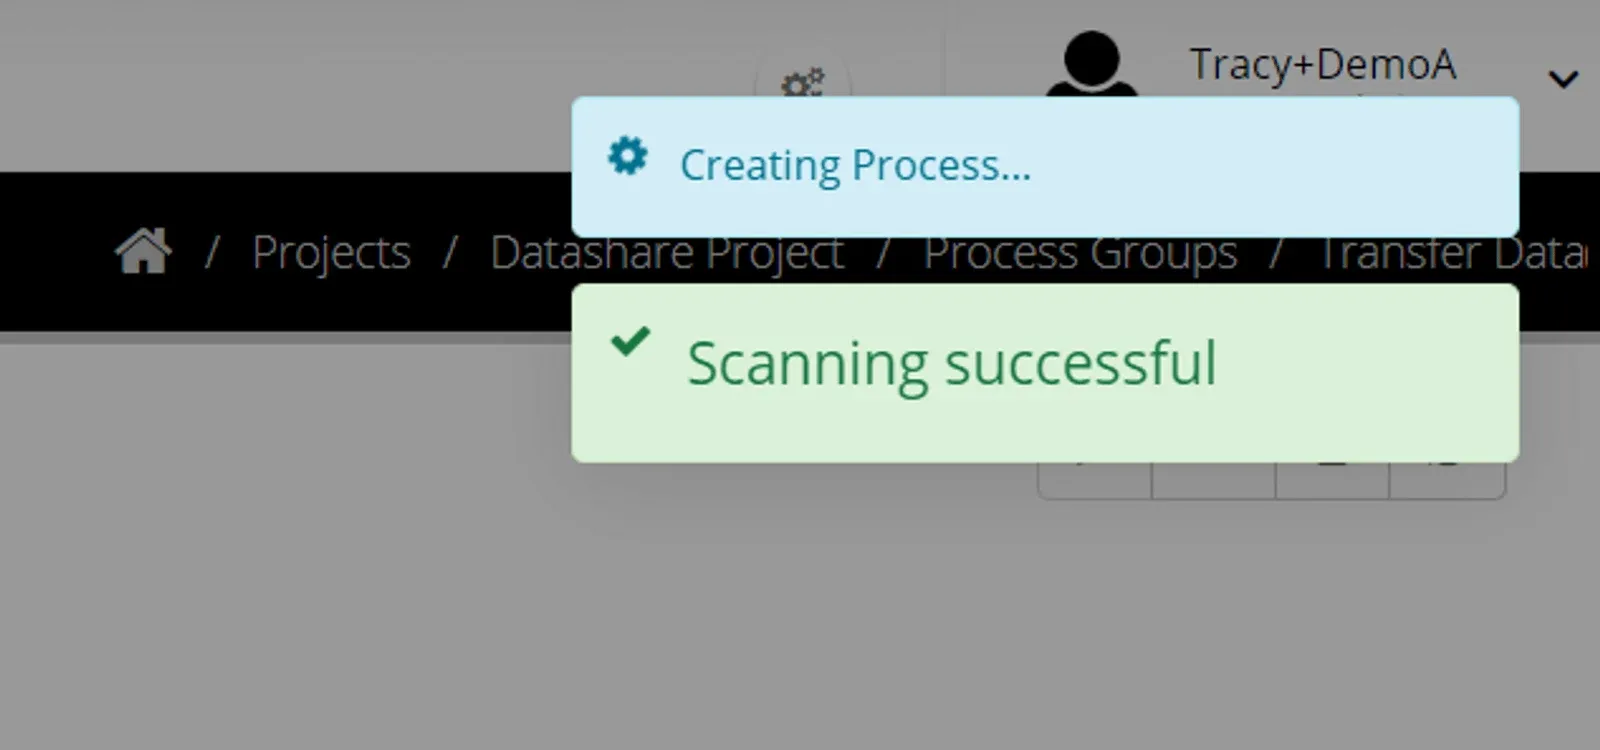
Complete creation of the process by clicking the Blue tick or Accept All
Map a Process
From within a process group, hover the mouse over a process to see the Edit Refresh Delete and Execute buttons.
Click Edit process (the pencil icon).

The mapping from source table to destination table will appear.
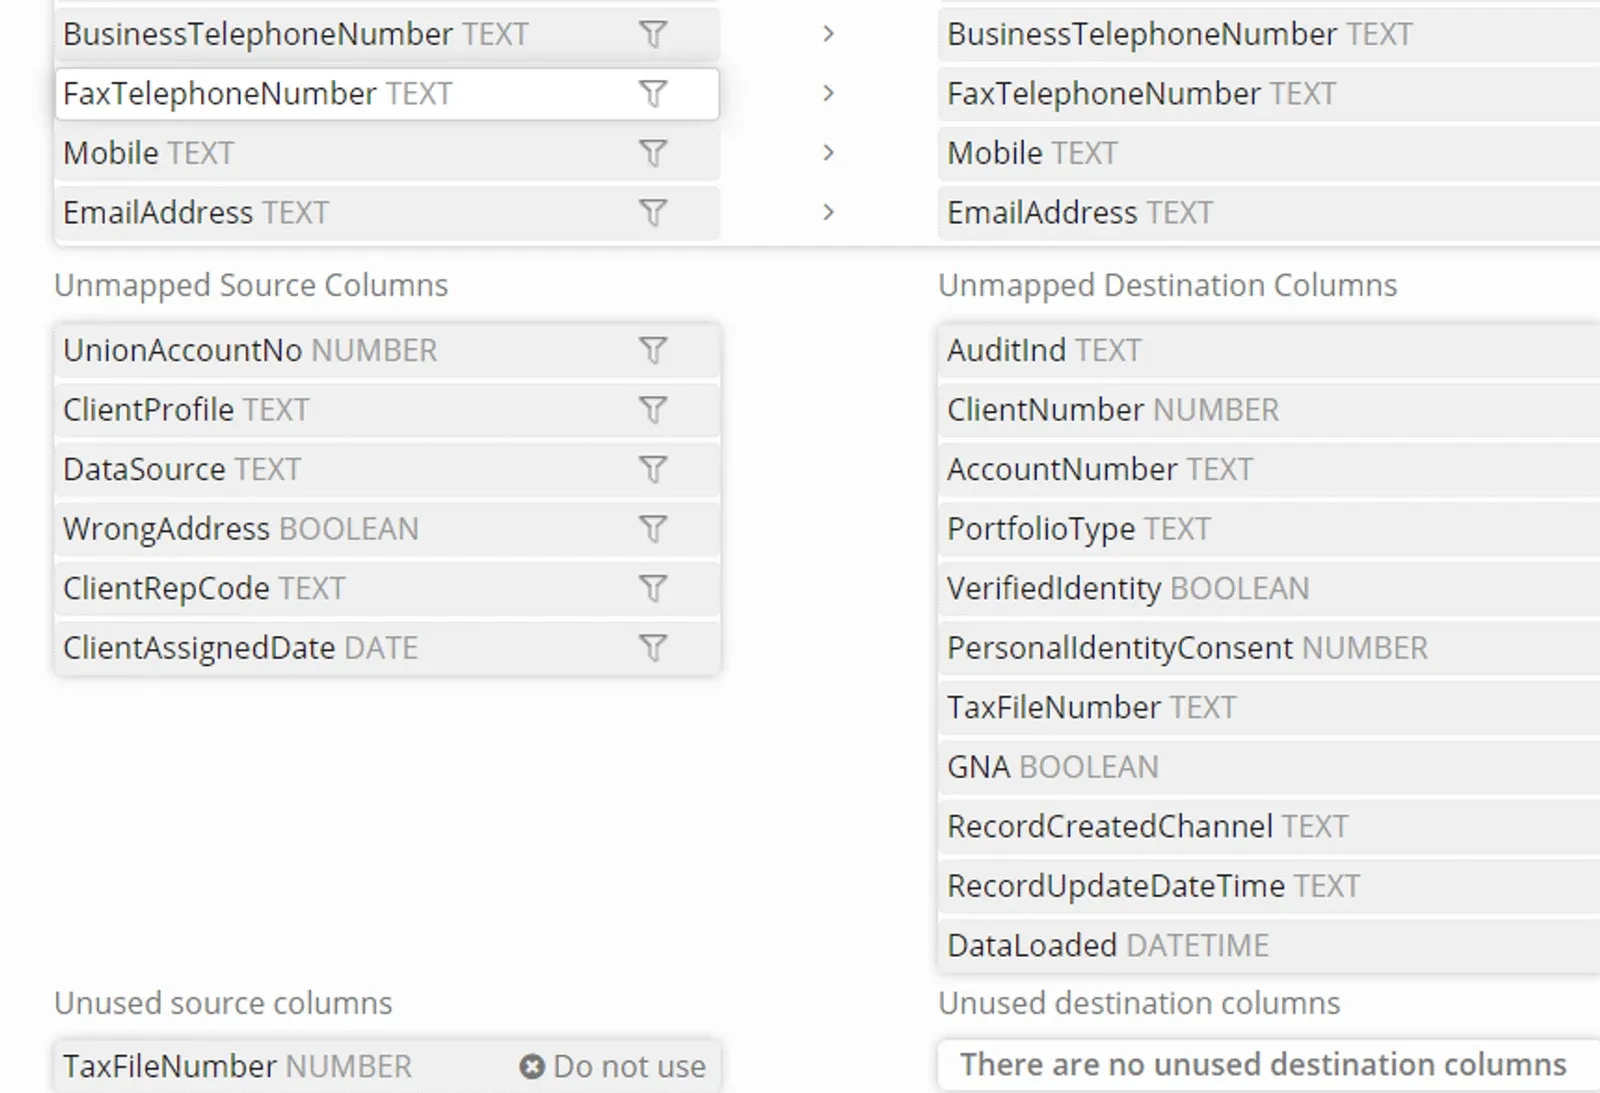
Automatically mapped columns have a light grey arrow between them
Unmapped Source and destination columns may also appear.
Any column that appear with x Do not use have been restricted in the source data store, and cannot be mapped.
To manually map a column click on the source and destination columns.
A message will confirm manual mapping has been successful and the columns will appear with a dark grey tick between them.
To remove a manual mapping, simply click on the dark grey arrow and confirm.
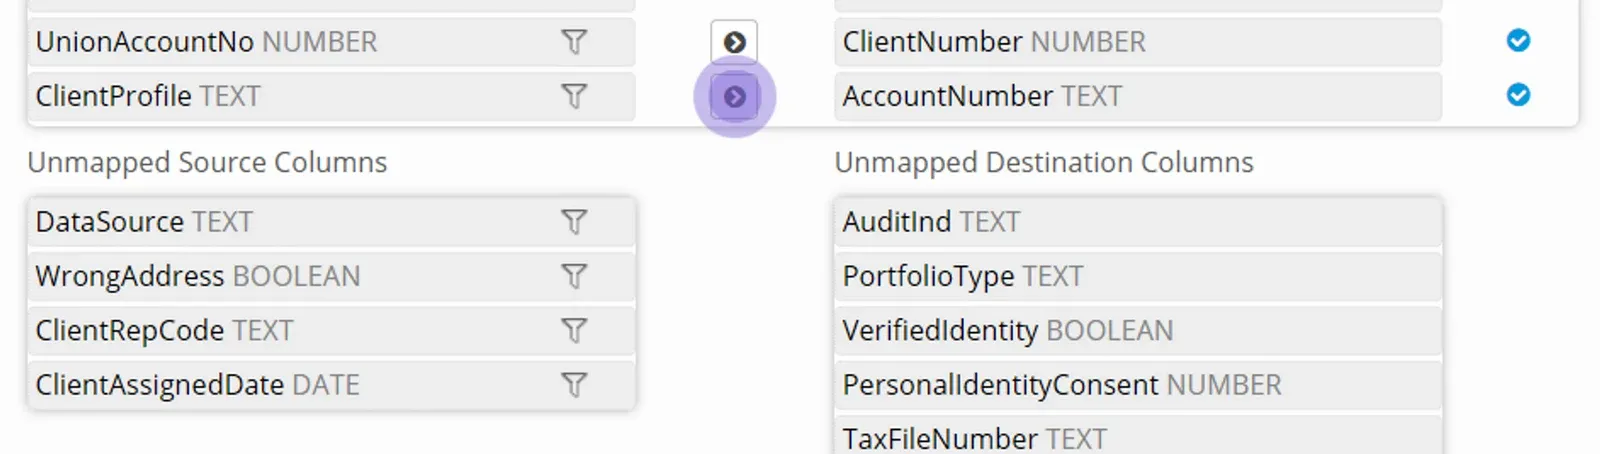
When the mapping is complete, click Save
Filter a Process
A process can have row-level filters applied. Only rows where the filter criteria are met will be processed.
To apply a filter, edit the process.
Click on the filter icon.
Enter the criteria.
Click Ok
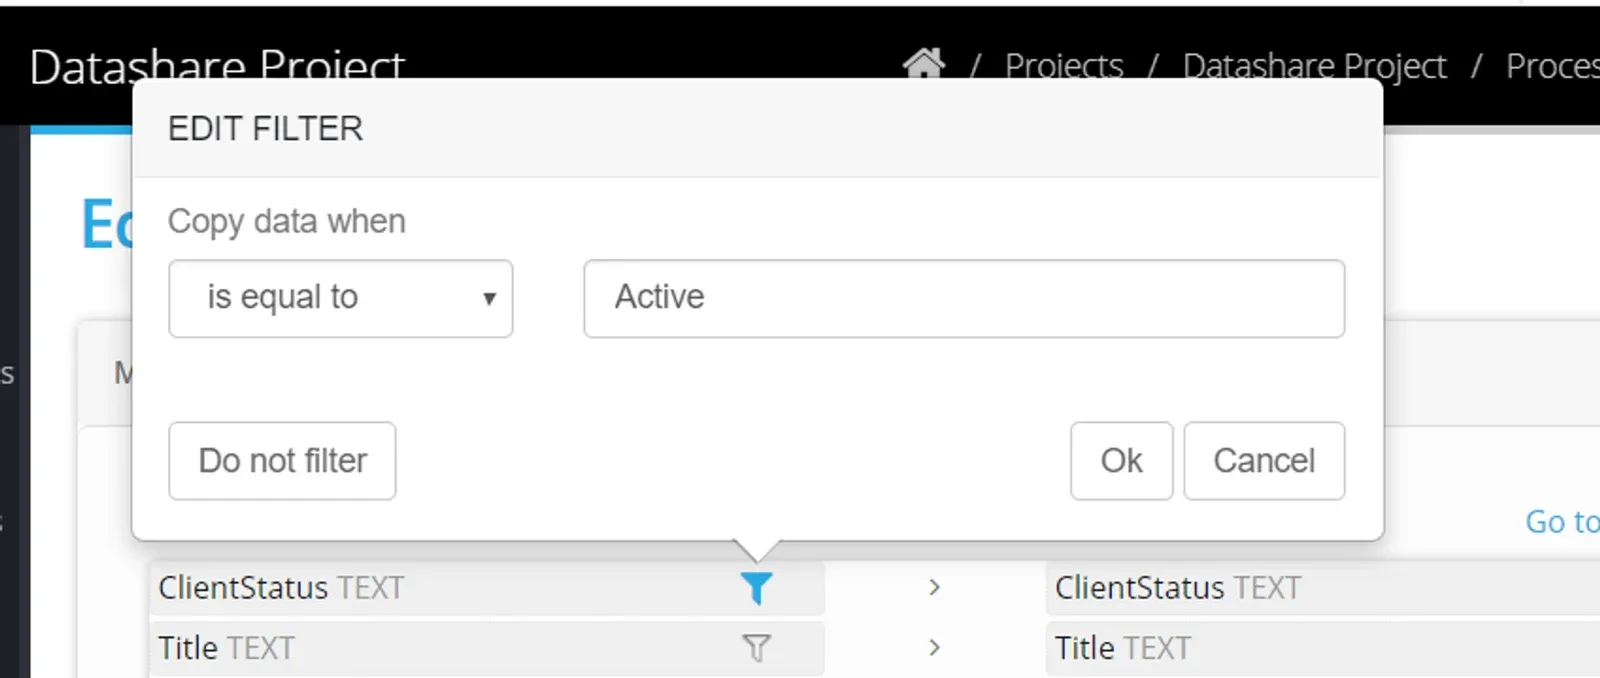
A column does not have to mapped to have a filter applied.
A filter cannot be applied on an expression column
Check out this video for an example — building processes
More options working with processes are in the following pages;
- Create Process Expressions
- Work with System Expressions and Constants
- Configure Process tolerances and Options
- Test a Process by manually executing
- Apply a time based schedule to your Process Groups
- Apply an event based schedule to your Process Groups
Stuck on this step? Email support@eight-wire.com